Logo Lites > Products > Archive
Archive
Discontinued Logo Lites Products
Logo Lites LED Third Brake Lights
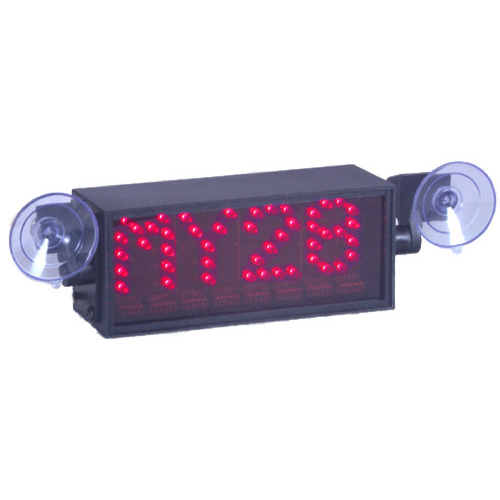
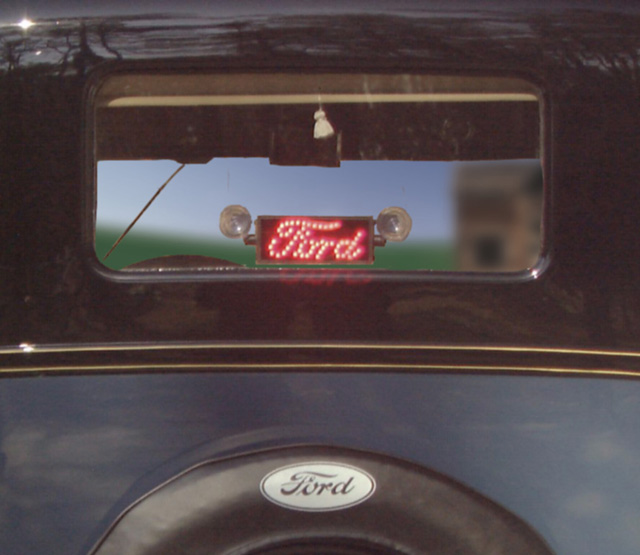
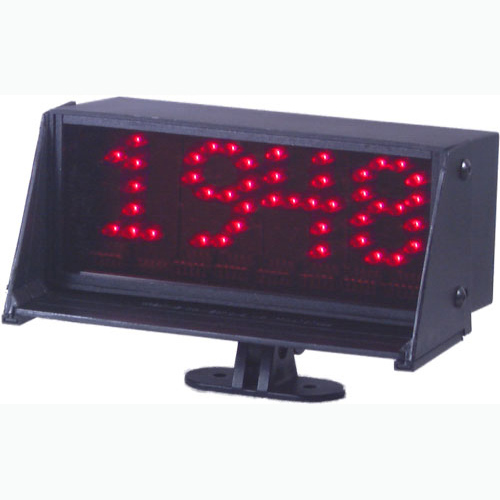
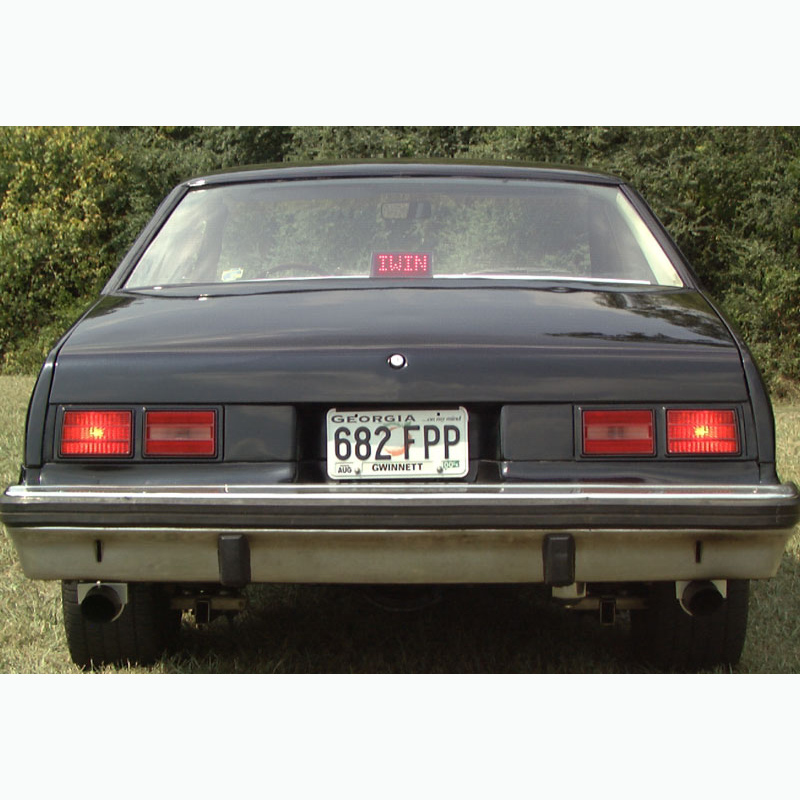
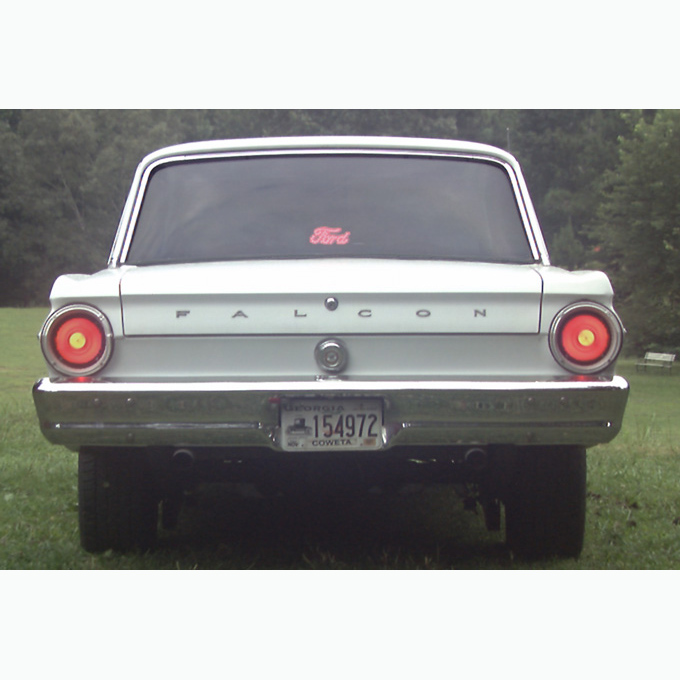
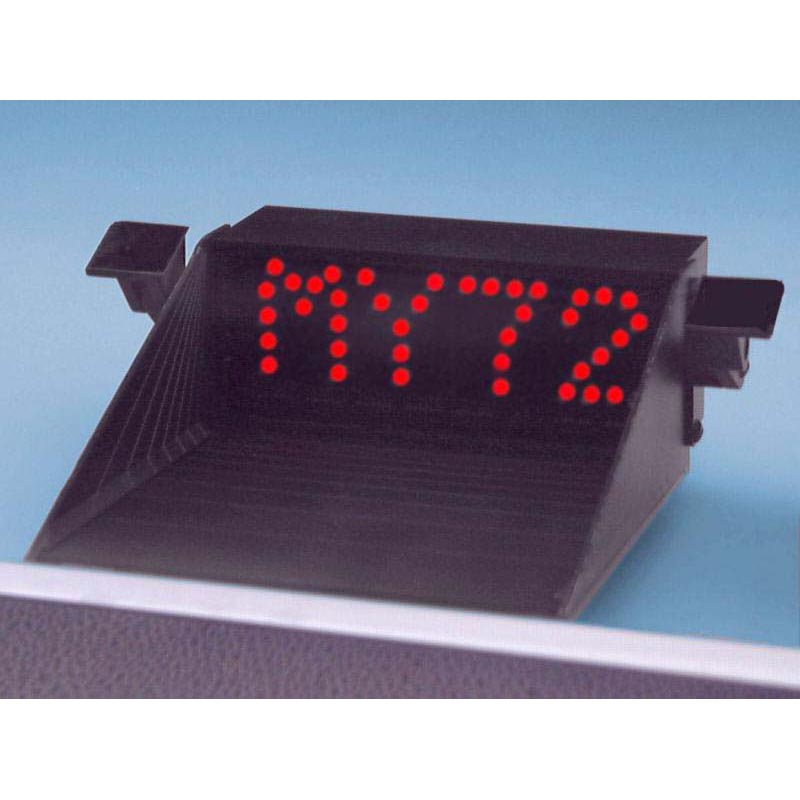
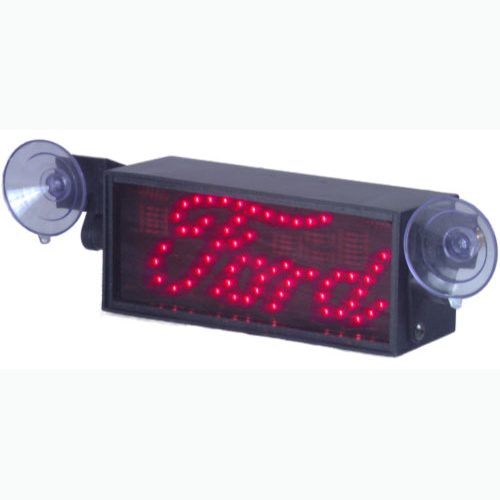
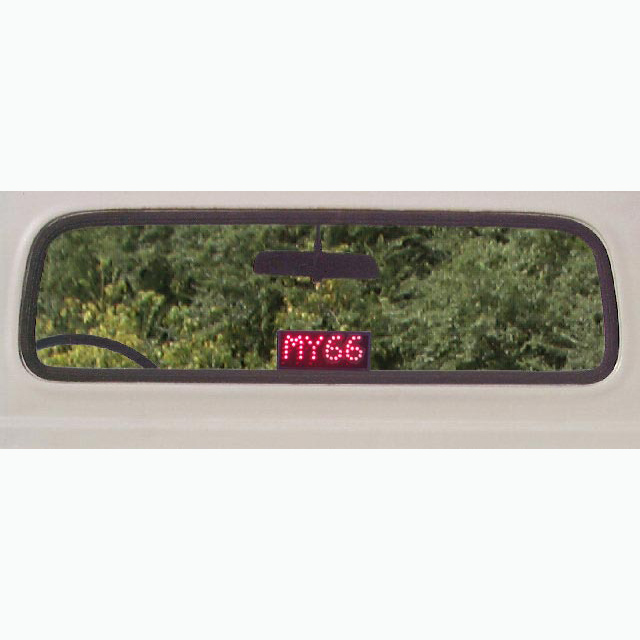
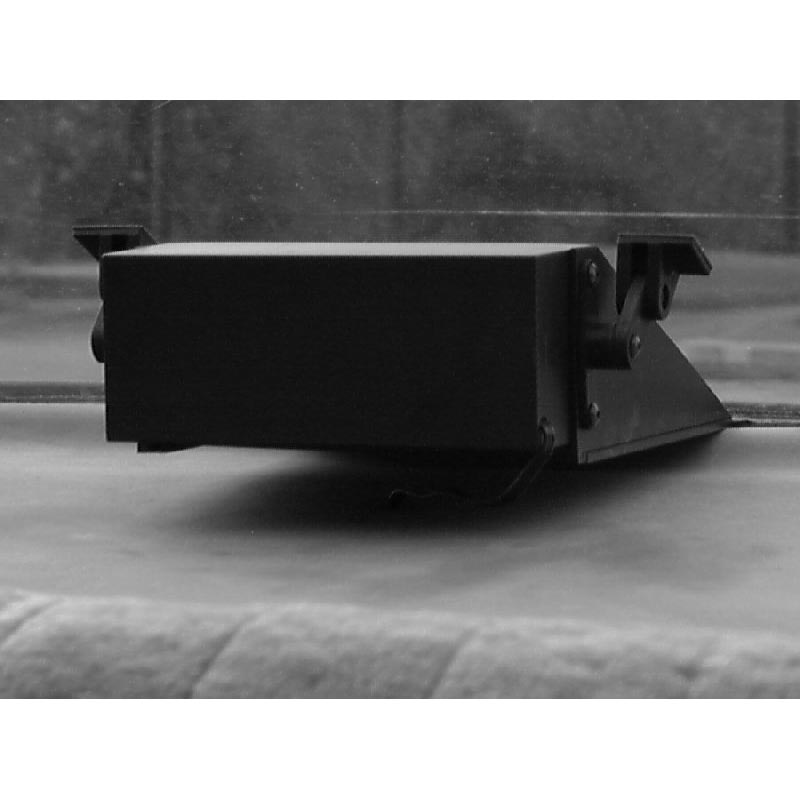
Logo Lites LED Third Brake Lights were made in several models and were available with many different brake light messages. The third brake light was available with licensed logos including the Chevrolet Bow Tie and the Ford script logo. There were many other popular models including ones that said “STOP” and lights that displayed the vehicle’s year which were quite popular as well.
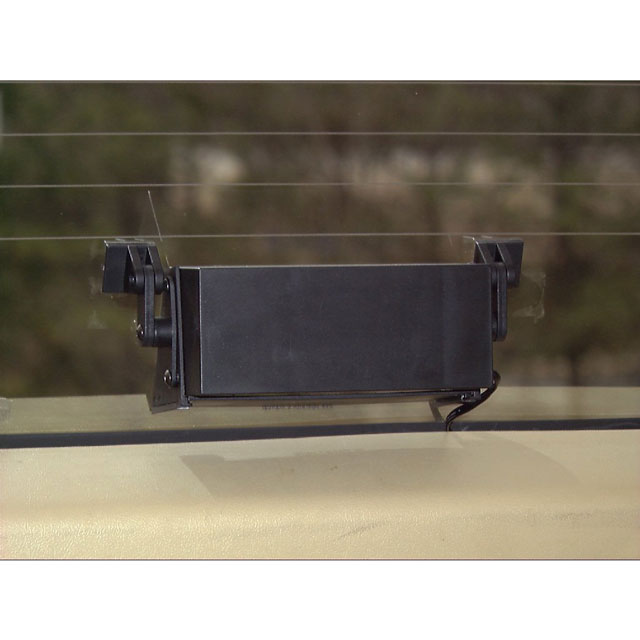
Some models had built-in brake light decoders, while others simply connected to the brake light switch. Some were 12V only, while others were 6V/12V compatible. Other options included fixed mounts and suction cup mounts for show car owners who wanted extra safety but to also be able to remove the extra light for car shows.
Logo Lites LED Third Brake Lights were sold from 1996 until 2009. Here are links to the LED Third Brake Lights installation manuals: